
SigStudio HTML Email Signature Software - Getting Started Guide
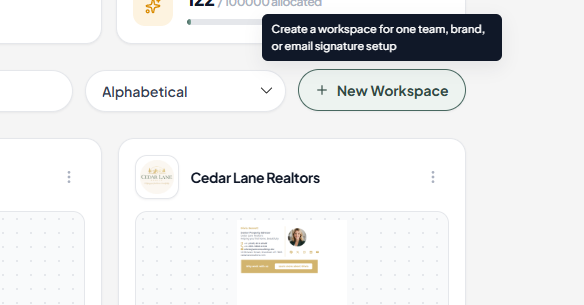
To create your first HTML email signature template, press the + New Workspace button on your Dashboard.
Add your Workspace name
Workspaces can be anything from a Team name, Location name, Company name or Group name. Each Workspace has one signature design, so create a new Workspace for each unique signature template design you need.
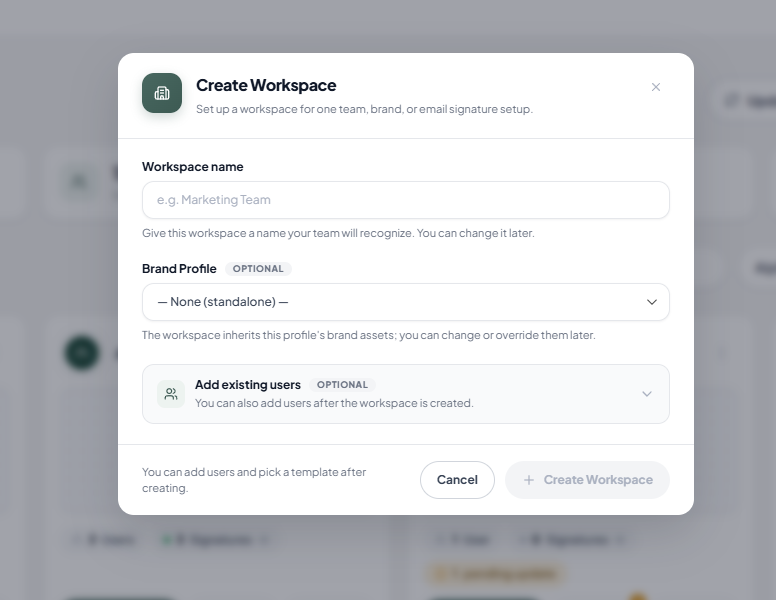
Optional fields: Brand Profile and Add Existing Users
Brand Profile
Brand Profiles are useful when multiple Workspaces share the same brand assets or information, such as logos, banners, addresses, phone numbers, websites or social links.
You can connect the same Brand Profile to multiple Workspaces, then link individual fields within Workspace Data. Those Workspaces will automatically use the linked Brand Profile assets and information.
You don’t need to use a Brand Profile for every Workspace. They’re most helpful when you have multiple brands, locations, departments or clients that may require different email signature designs while still sharing some of the same brand assets.
Need help setting up SigStudio for multiple brands, locations, departments or clients? Contact Support and we’ll help you choose the best account structure and get everything set up correctly.
Add Existing Users
If this is the first Workspace you’ve created, you won’t have any existing users to add yet, so you can simply skip this step.
If you already have users in other Workspaces, you can use this option to add them to your new Workspace.
Live Editor
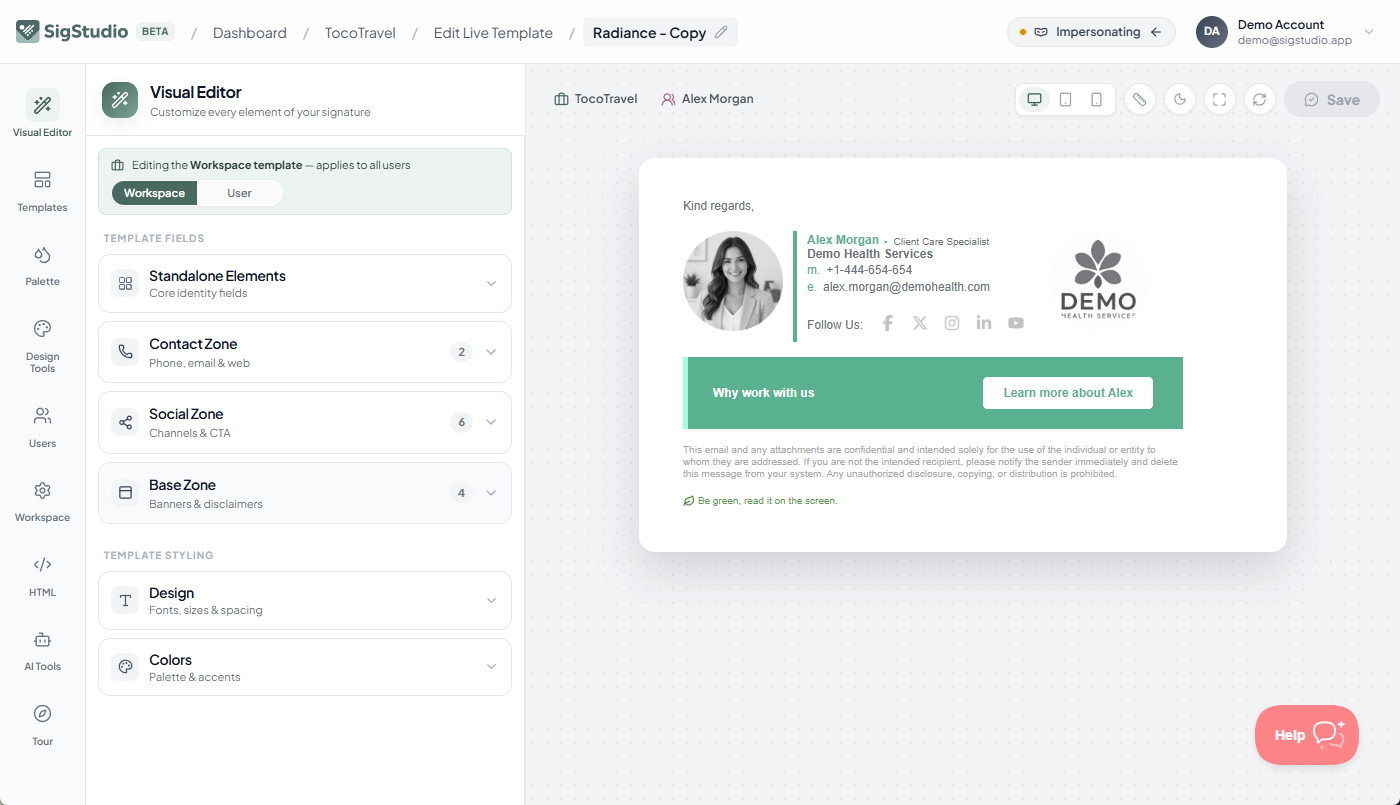
After adding your Workspace, you will immediately land in our Editor, ready to create your first email signature. You will be shown a demo signature design for "Demo Health Services", and a demo User called "Alex Morgan".
Add your first real User
Go to the Users tab on the left.
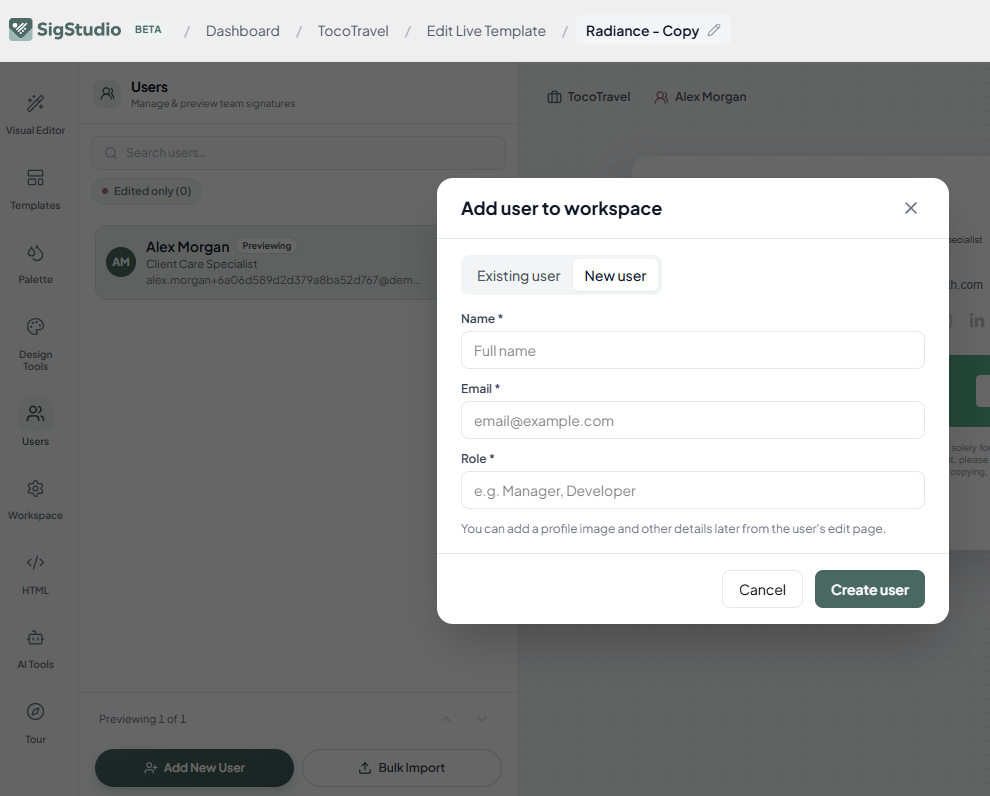
Add yourself or another User by pressing the Add New User button at the bottom.
Enter the name, email and role.
Create New User.
Other ways to add users
In SigStudio, there are multiple ways to get your users into your SigStudio account including:
Adding them one by one like above
Importing a CSV - using the Bulk Import button next to the Add New User button
Connecting your Slack, Google or Microsoft Account in the top right Settings menu.
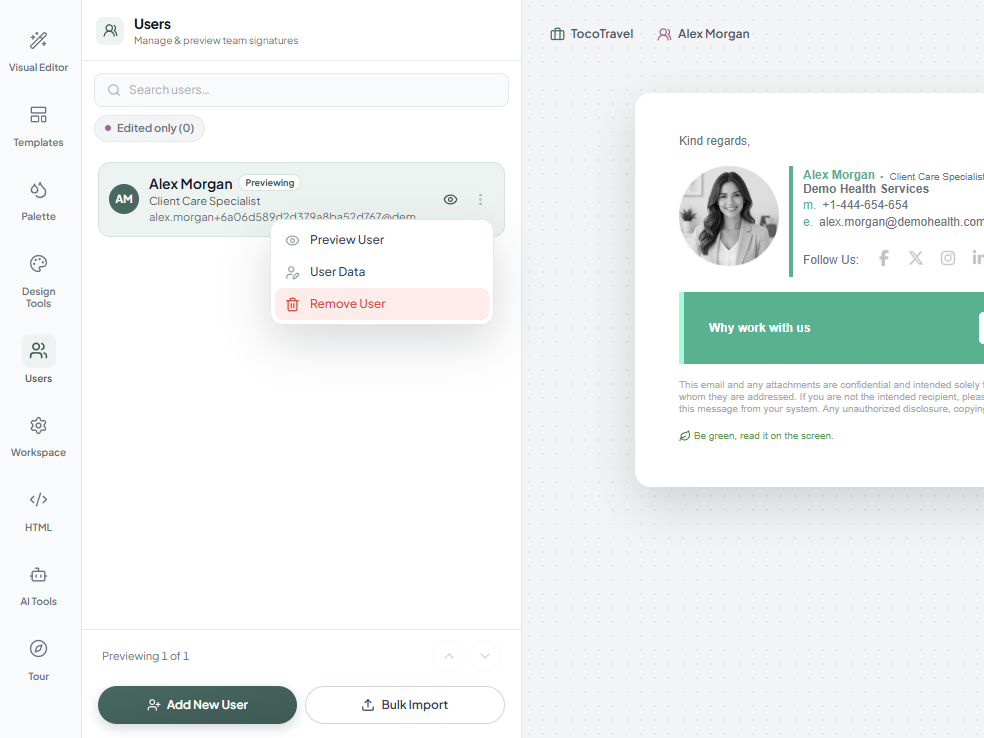
Delete the Demo User - Alex Morgan
Go to the Users tab on the left.
Click on Alex Morgan
Click on the three dot menu next to Alex.
Click Remove User
Select "Delete User from Account".
Use the Visual Editor to make changes
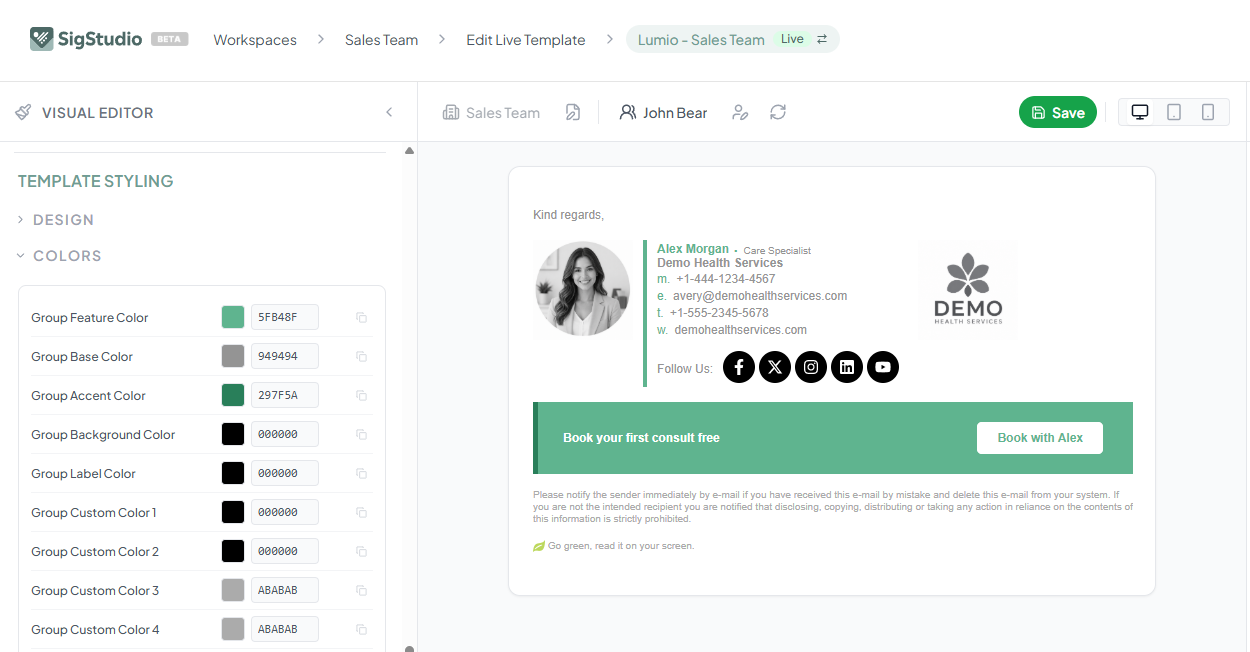
Use the Visual Editor options to make changes to your signature. .
Remember to save your template changes often. The save button will turn green when you have changes to save.
Contact Zone
You can customize what contact fields show in your template in the Contact Zone.
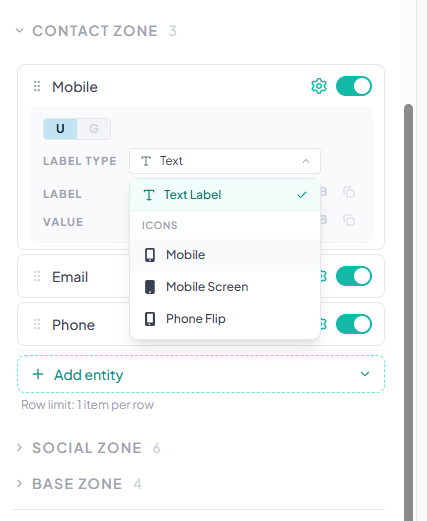
Use the Workspace/User selector to choose where the data comes from - if you choose Workspace, its a joint field that can be used by many signatures - if you choose User, this field comes form the User's unique data.
Colors
Go to the Colors section of the Visual Editor, and set your Feature Color, Base Color and Accent Color.
Social Zone
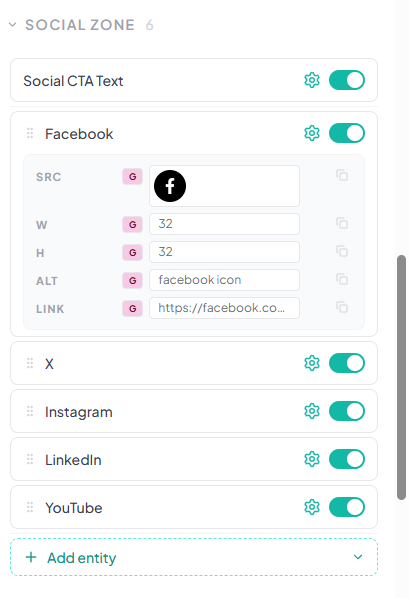
The Social Zone is where the template shows your Social Icons and links to your social pages.
Add more Users
Once you have changed the first demo User to your own first User, now it's time to add more Users. You can do that from the Live Template Editor page by clicking on the User's name in the Preview Bar.
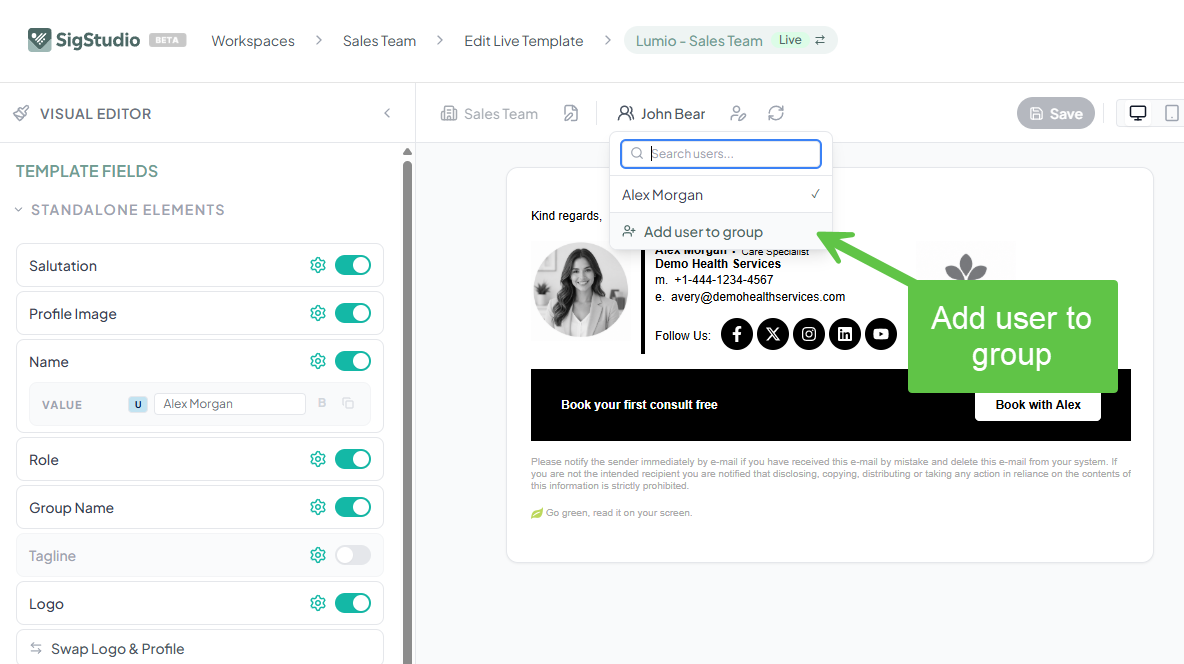
You can keep adding Users here if you have just a few. Or you can CSV upload all Users later if you have many. You just need a name, role and email, other fields are optional.
Process Signatures
When you've added all Users and you've customized your template, you're ready to create signatures for your team. Go to your Workspace Dashboard and press Process Signatures to create your signatures.
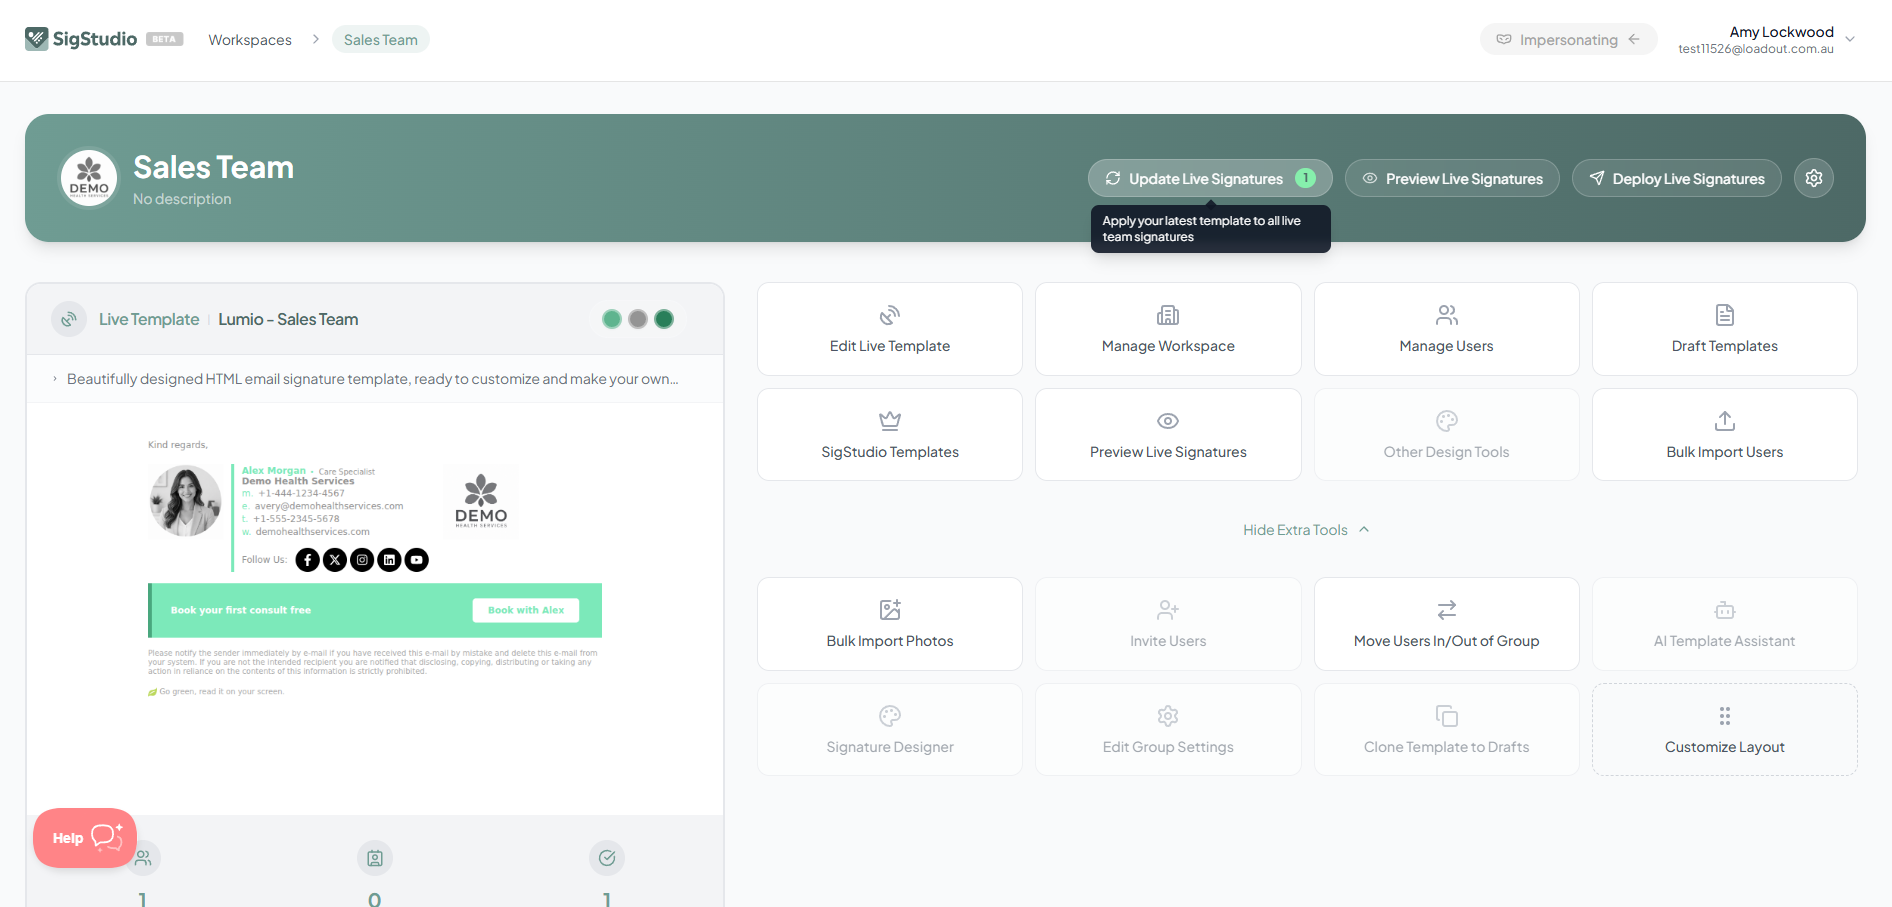
A modal will show confirming how many signatures you will be creating, updating and/or deleting. Press Process Signatures to confirm and start.
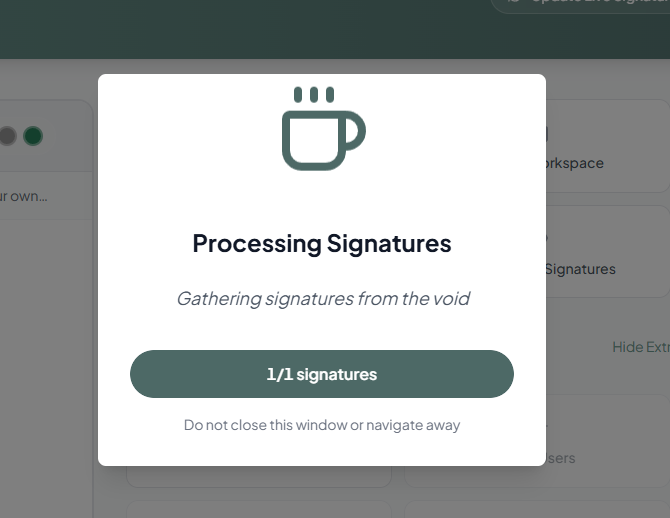
Click on the View Signatures button to check out your new signatures! Your team will receive their API key, HTML file and instructions for installing signatures by email.